SQL Server Backup from inside Azure VM
 In the backup goal, select Azure as the place where your workloads are running and SQL Server in Azure VM to what to backup.
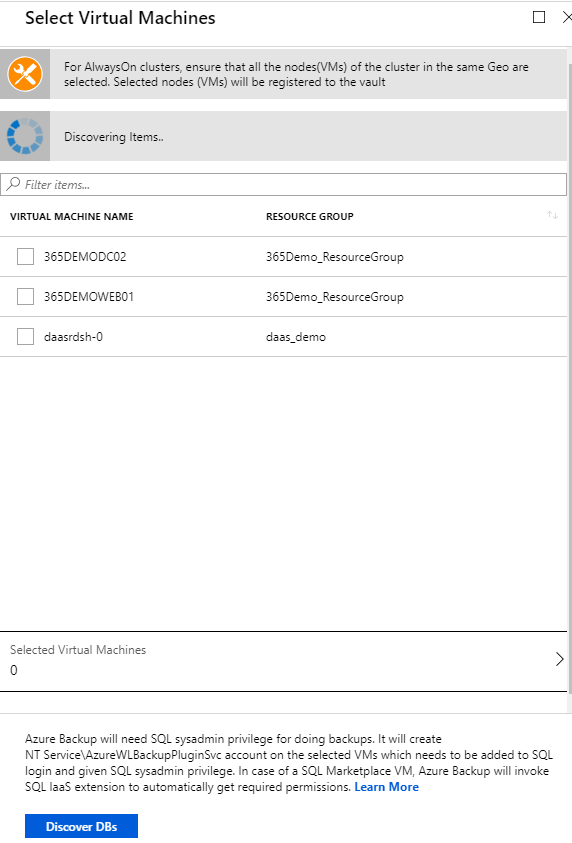
  In Backup Goal -> Discover DBs in VMs, select Start Discovery to search for unprotected VMs in the subscription. It can take a while, depending on the number of unprotected virtual machines in the subscription. In the VM list, select the VM running the SQL Server database -> Discover DBs. Azure Backup discovers all SQL Server databases on the VM. During discovery the following occurs in the background:
 - Azure Backup register the VM with the vault for workload backup. All databases on the registered VM can only be backed up to this vault.
- Azure Backup installs the AzureBackupWindowsWorkload extension on the VM. No agent is installed on the SQL database.
- All backup and restore operations use the service account.
- NT Service\AzureWLBackupPluginSvc needs SQL sysadmin permissions as mentioned earlier. All SQL Server VMs created in the Azure Marketplace come with the SqlIaaSExtension installed. The AzureBackupWindowsWorkload extension uses the SQLIaaSExtension to automatically get the required permissions so in those cases you do not have to add the permissions manually.
 Next step is to configure the backup itself
  Click Configure Backup, the Select items to backup blade appears.
  Select all the databases you want to protect > OK.
  The maximum amount of databases in one backup job is limited to 50 to keep the backup loads optimized. Select Autoprotect, if you want the backup to automatically add the new databases created in the future. If its not turned on, you will need to manually add all the new databases in the instance. You can read more about autoprotect from here. Click OK to open the Backup policy blade.
 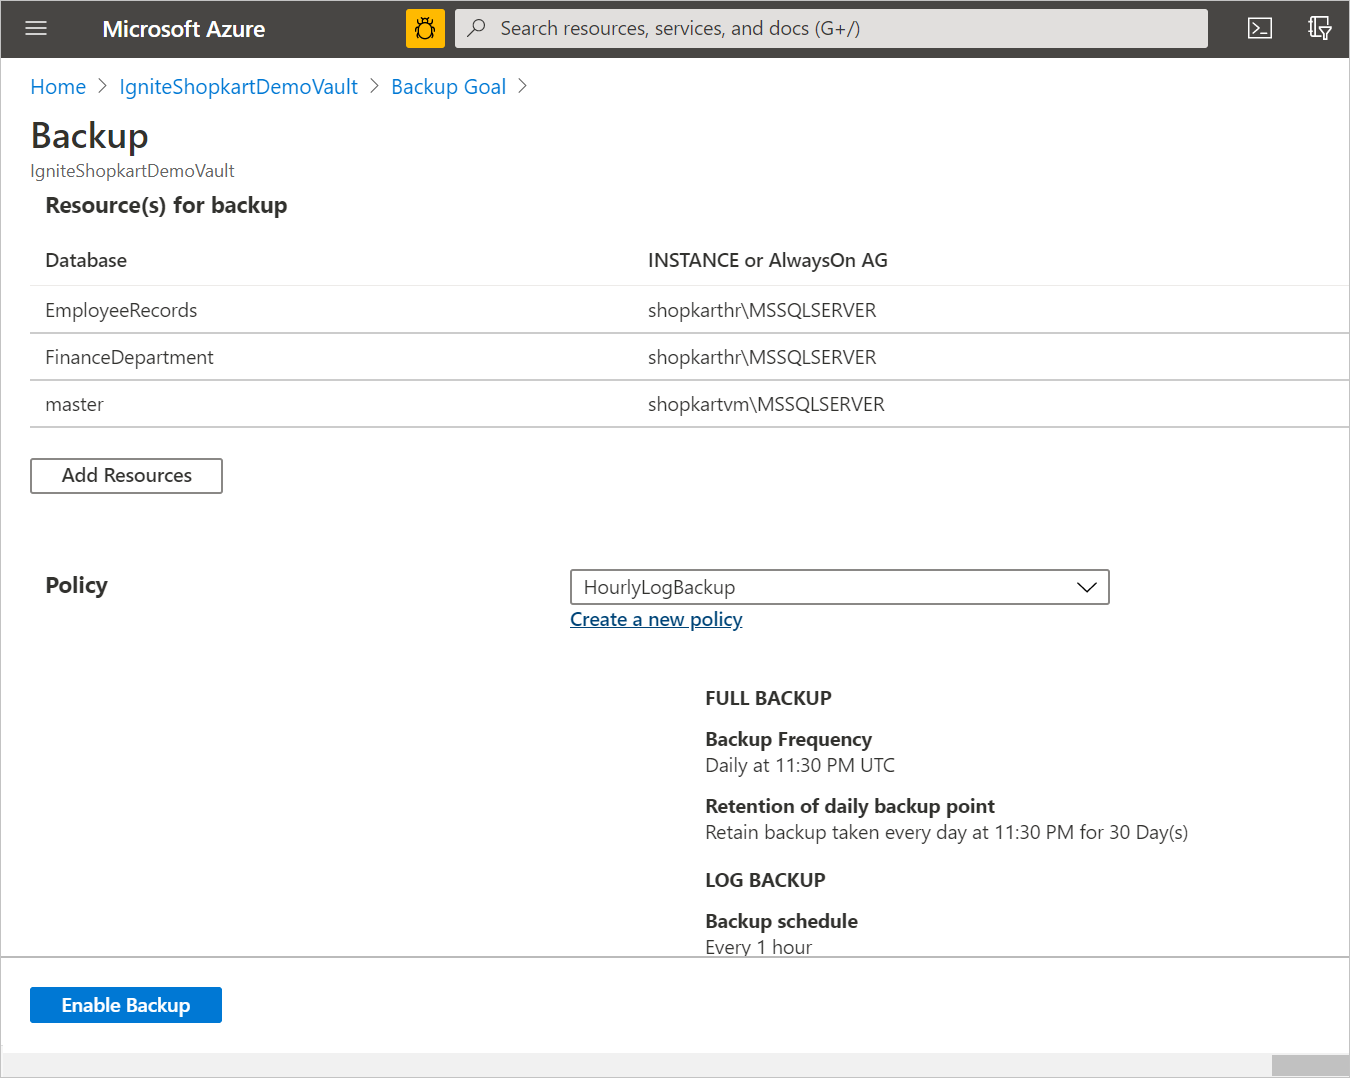 Select the desired backup policy, or create a new one. When you're ready, enable the backup.