Mandatory one-time password is coming, are you ready?
When does a guest user get a one-time passcode?
When a guest user redeems an invitation or uses a link to a resource that has been shared with them, they’ll receive a one-time passcode if:
- They do not have an Azure AD account
- They do not have a Microsoft account
- The inviting tenant did not set up federation with social (like Google) or other identity providers.
At the time of invitation, there's no indication that the user you're inviting will use one-time passcode authentication. But when the guest user signs in, one-time passcode authentication will be the fallback method if no other authentication methods can be used.
How to enable OTP for guest users?
- Sign in to the Azure portal as an Azure AD global administrator.
- In the navigation pane, select Azure Active Directory.
- Select External Identities > All identity providers.
- Select Email one-time passcode to open the configuration pane.
- Under Email one-time passcode for guests, select one of the following:
Automatically enable email one-time passcode for guests starting <date> if you don't want to enable the feature immediately and want to wait for the November 1, 2021 automatic enablement date.
Enable email one-time passcode for guests effective now to enable the feature now.
Yes to enable the feature now if you see a Yes/No toggle (this toggle appears if the feature was previously disabled).

Email one-time passcode settings have moved in the Azure portal from External collaboration settings to All identity providers. If you see a toggle instead of the email one-time passcode options, this means you've previously enabled, disabled, or opted into the preview of the feature. Select No to disable the feature.
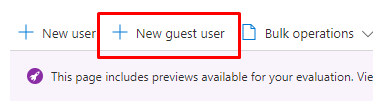
Ways of creating a Azure B2B Guest user
When you open users blade from Azure portal you will the the following.
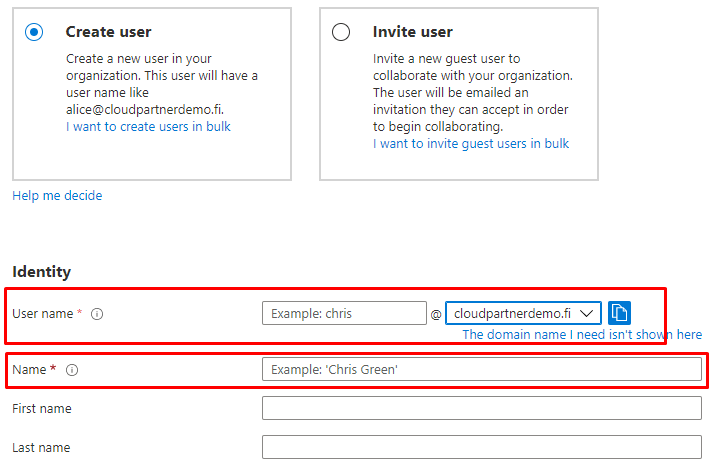
You can either create the user manually.
Or you can invite the user
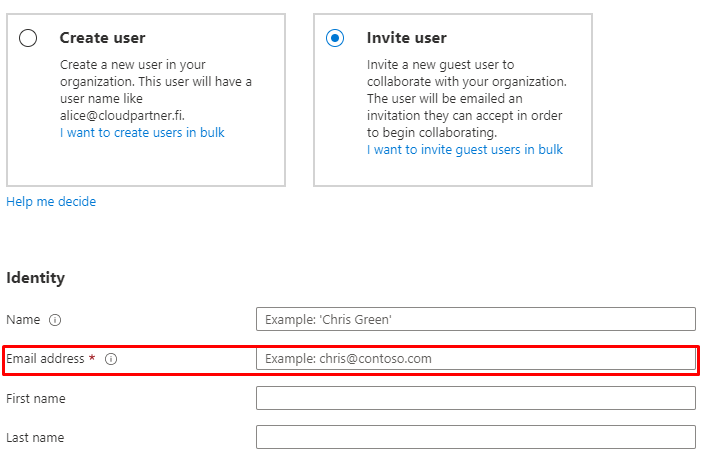
If you invite they will be greeted with invitation email to their login address.
The elements of the B2B collaboration invitation email
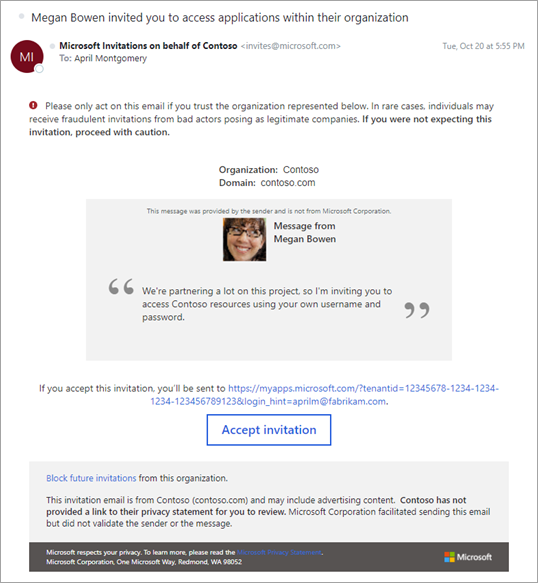
Explaining the email
Let's look at a few elements of the email so you know how best to use their capabilities.
Subject
The subject of the email follows this pattern:
<username> invited you to access applications within their organization.
From address
We use a LinkedIn-like pattern for the From address. This pattern should make it clear that although the email comes from invites@microsoft.com, the invitation is from another organization. The format is: Microsoft Invitations invites@microsoft.com or Microsoft invitations on behalf of <tenantname> invites@microsoft.com.
Reply To
The reply-to email is set to the inviter's email when available, so that replying to the email sends an email back to the inviter.
Phishing warning
The email starts with a brief warning to the user about phishing, alerting them that they should only accept invitations they're expecting. It’s good practice to make sure the partners you’re inviting will not be surprised by your invitation by mentioning it to them ahead of time.
Accept button and redirect URL
The next section of the email contains information about where the invitee will be taken after they accept the invitation, as well as a button to do so. In the future, the invitee can always use this link to return to your resources directly.
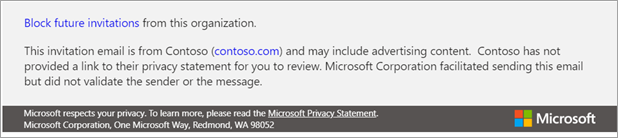
Footer section
The footer contains more information about the invitation being sent. There is always an option for the invitee to block future invitations. If the organization has set a privacy statement, the link to the statement is displayed here. Otherwise, a note indicates the organization hasn't set a privacy statement.
That's all folks! Until next time.
